Hamok comes with different templates for devices and surroundings and settings. Some templates have no surrounding and have a transparant background.
These transparent templates gives you the creative freedom to customize the mock-up even more.
In this simple tutorial, we will show you how to add your own context to the mock-ups using the simple yet powerful customisation options.
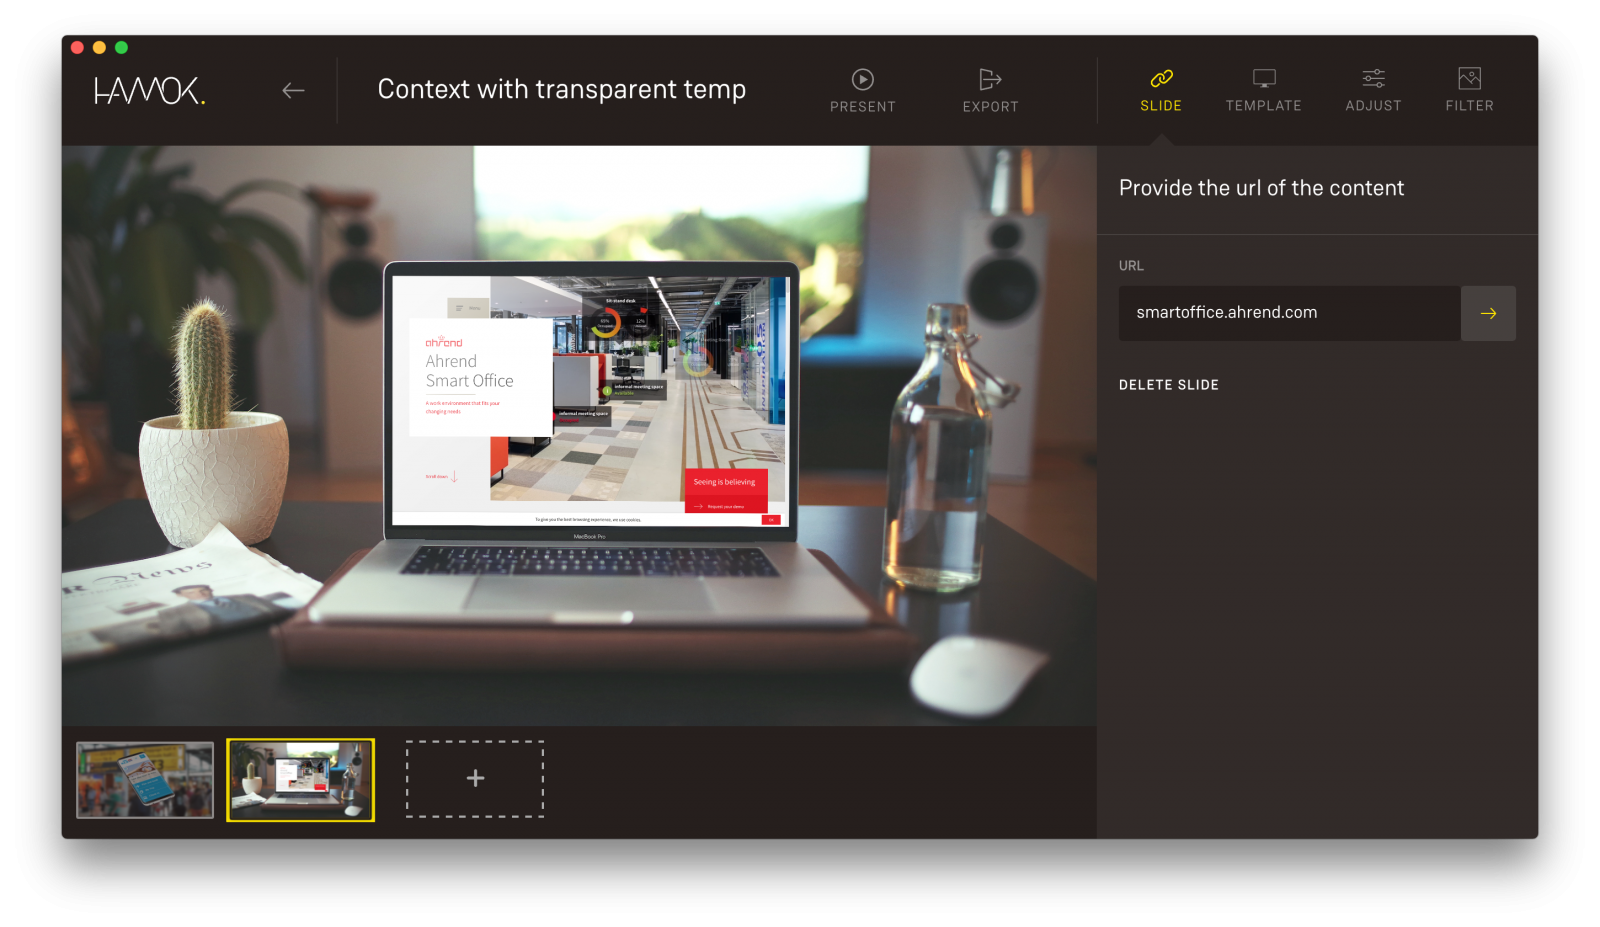
URL
As always, we start with the web URL we want to mock up.
For this tutorial, we will use a recent project we did for Ahrend and their Smart Office solutions.
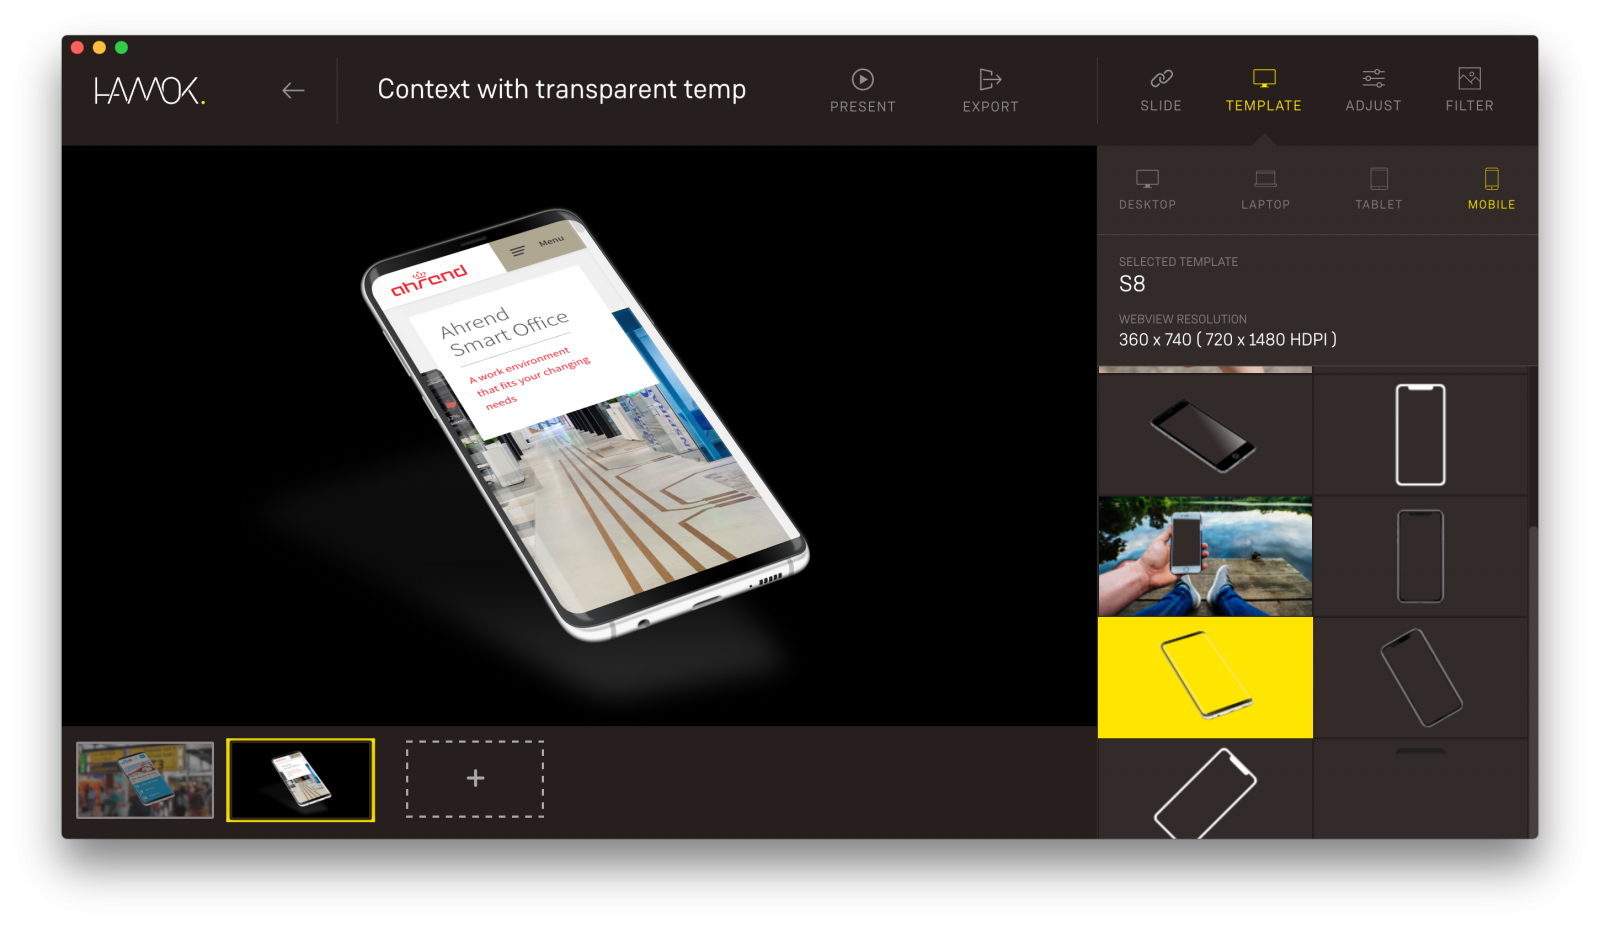
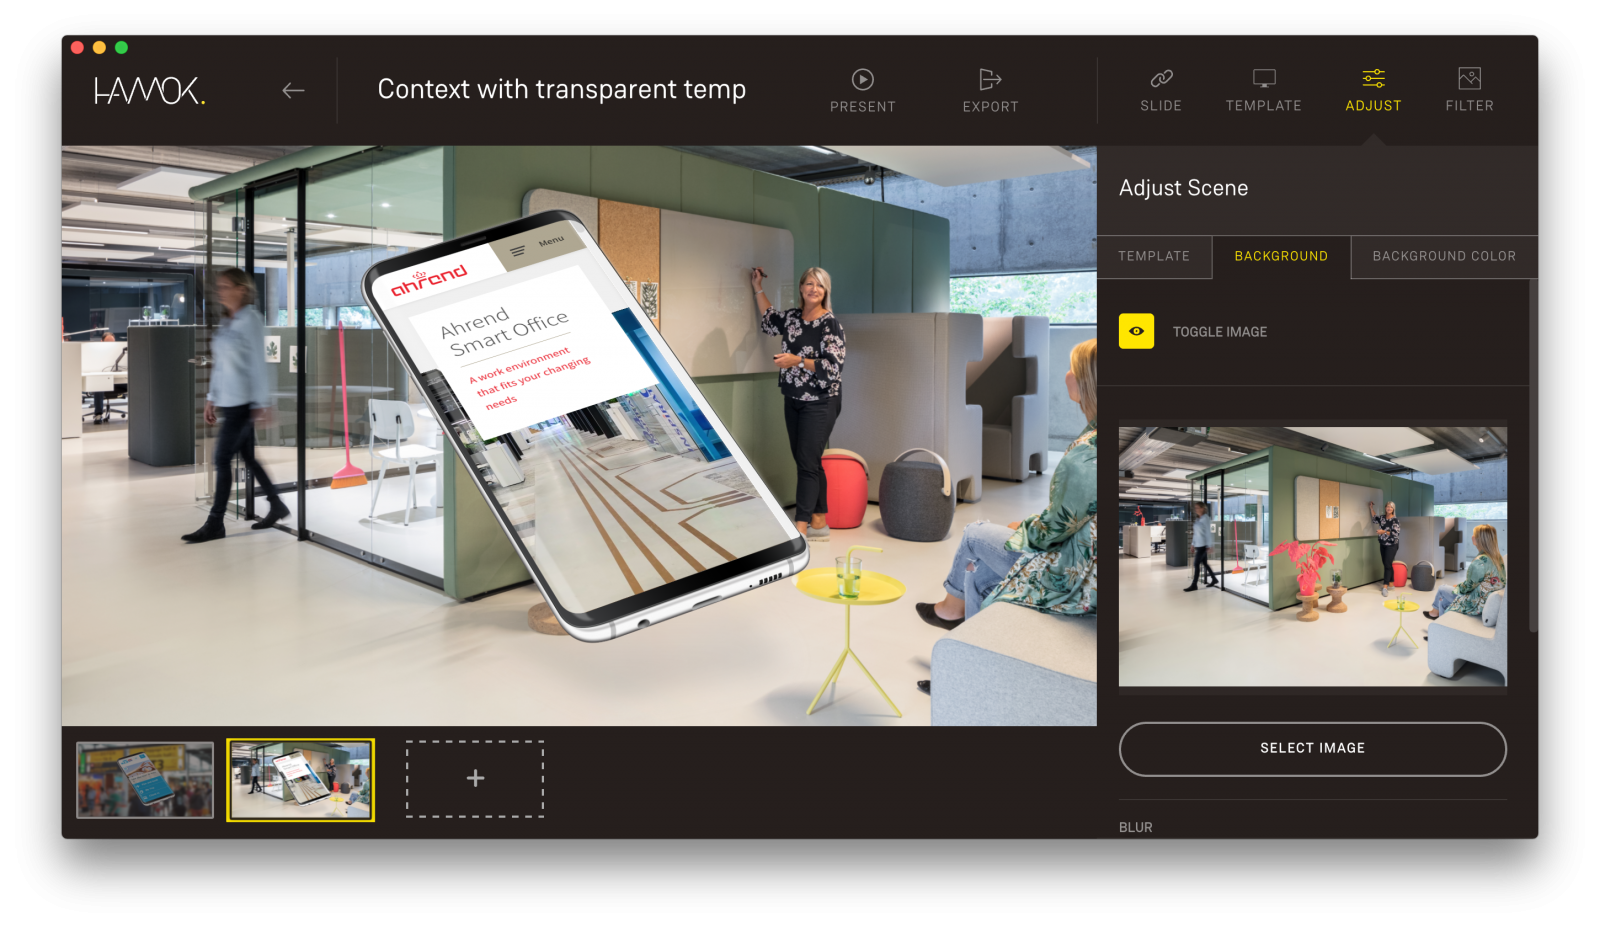
Select a transparent template
Select the desired template with a transparent background in the Template panel.
For this tutorial, we like the Samsung Galaxy phone
Background image
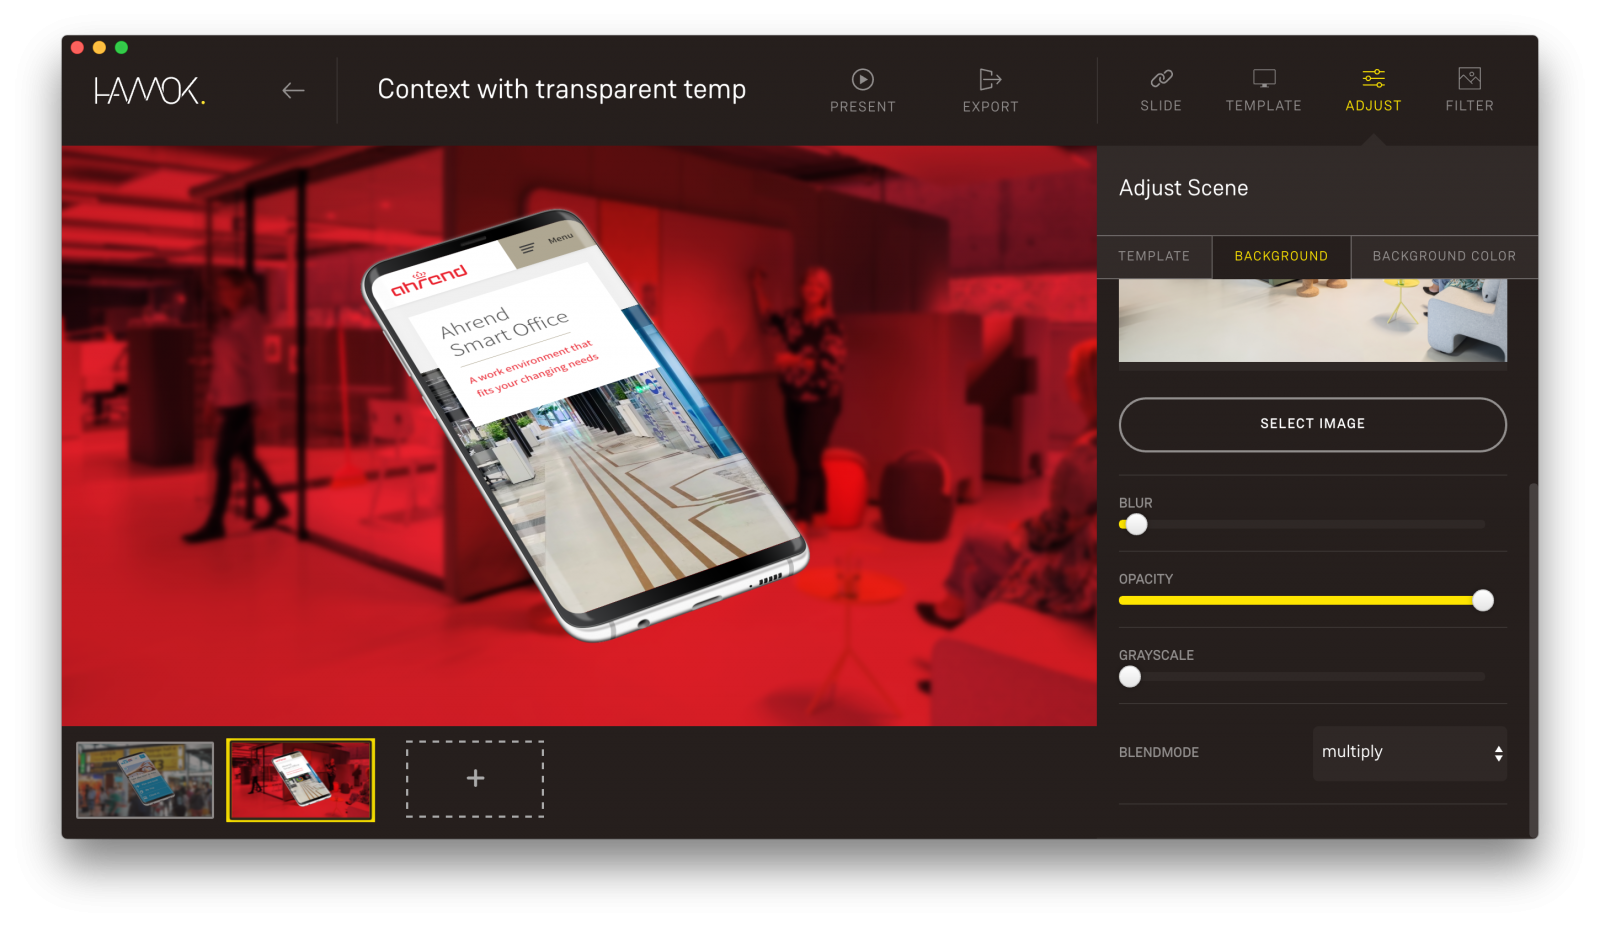
In the Adjust panel, we can now start to add the context to the template with a custom background.
In the Background tab, you can easily upload your own photo or image from your computer.
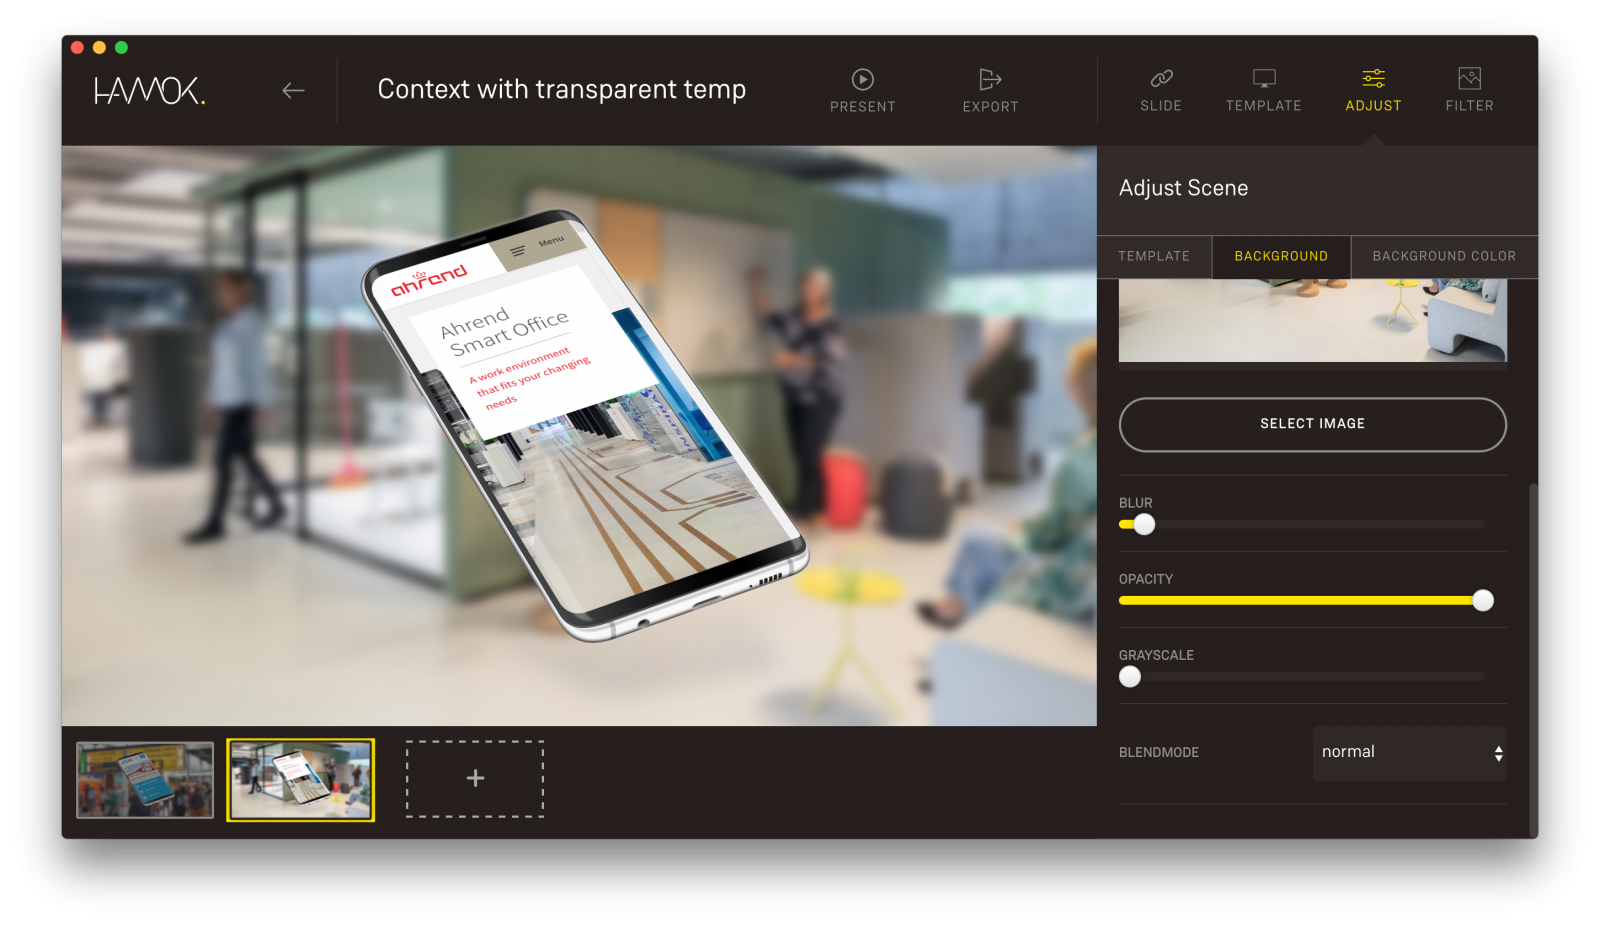
Blur
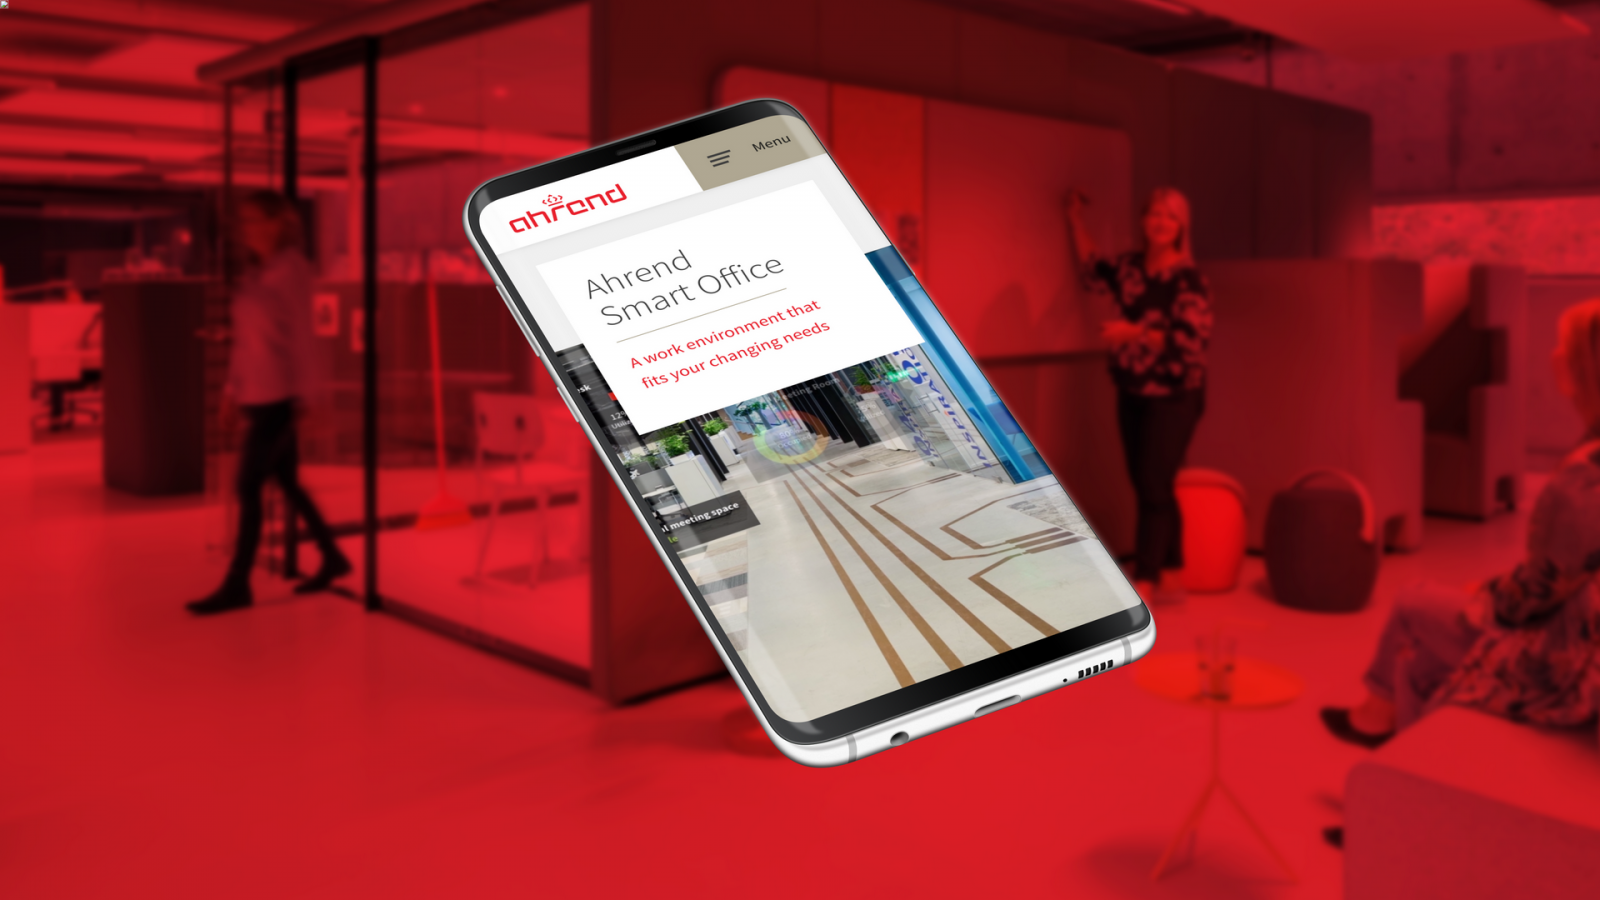
To make the background and device blend more realistic into one scene, we have add a little blur to the background image.
Scroll down in the Background tab and drag the Blur slider until you find the perfect blend.
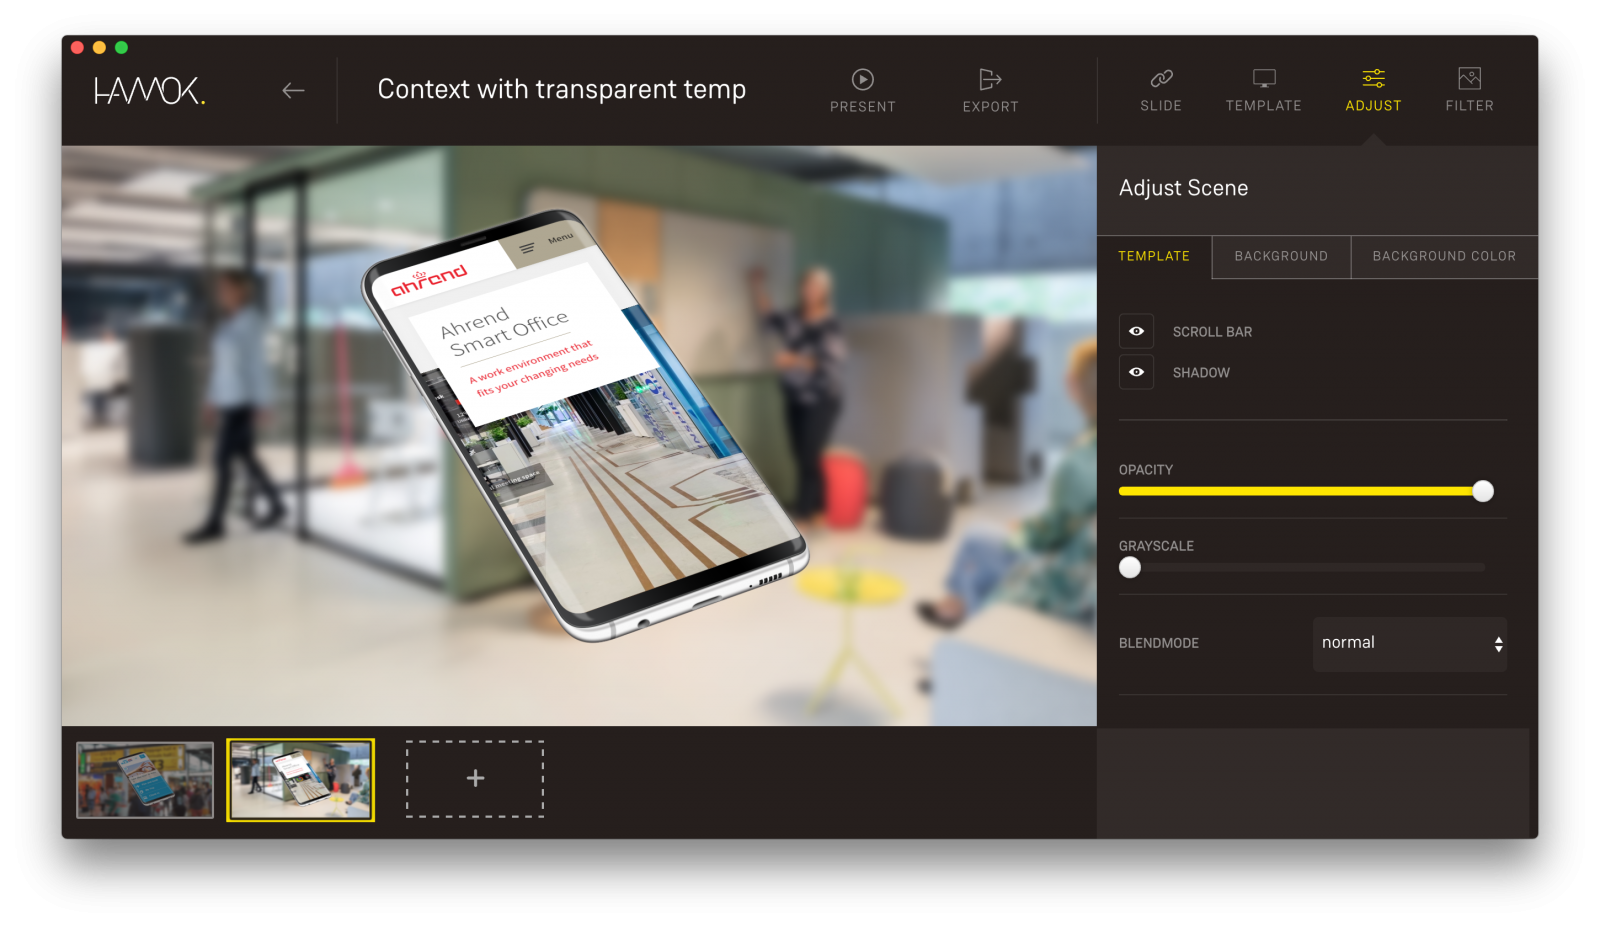
Remove drop shadow
The drop shadow is displayed by default in the template, but it is (often) unrealistic when we add a custom background image and the scene changes.
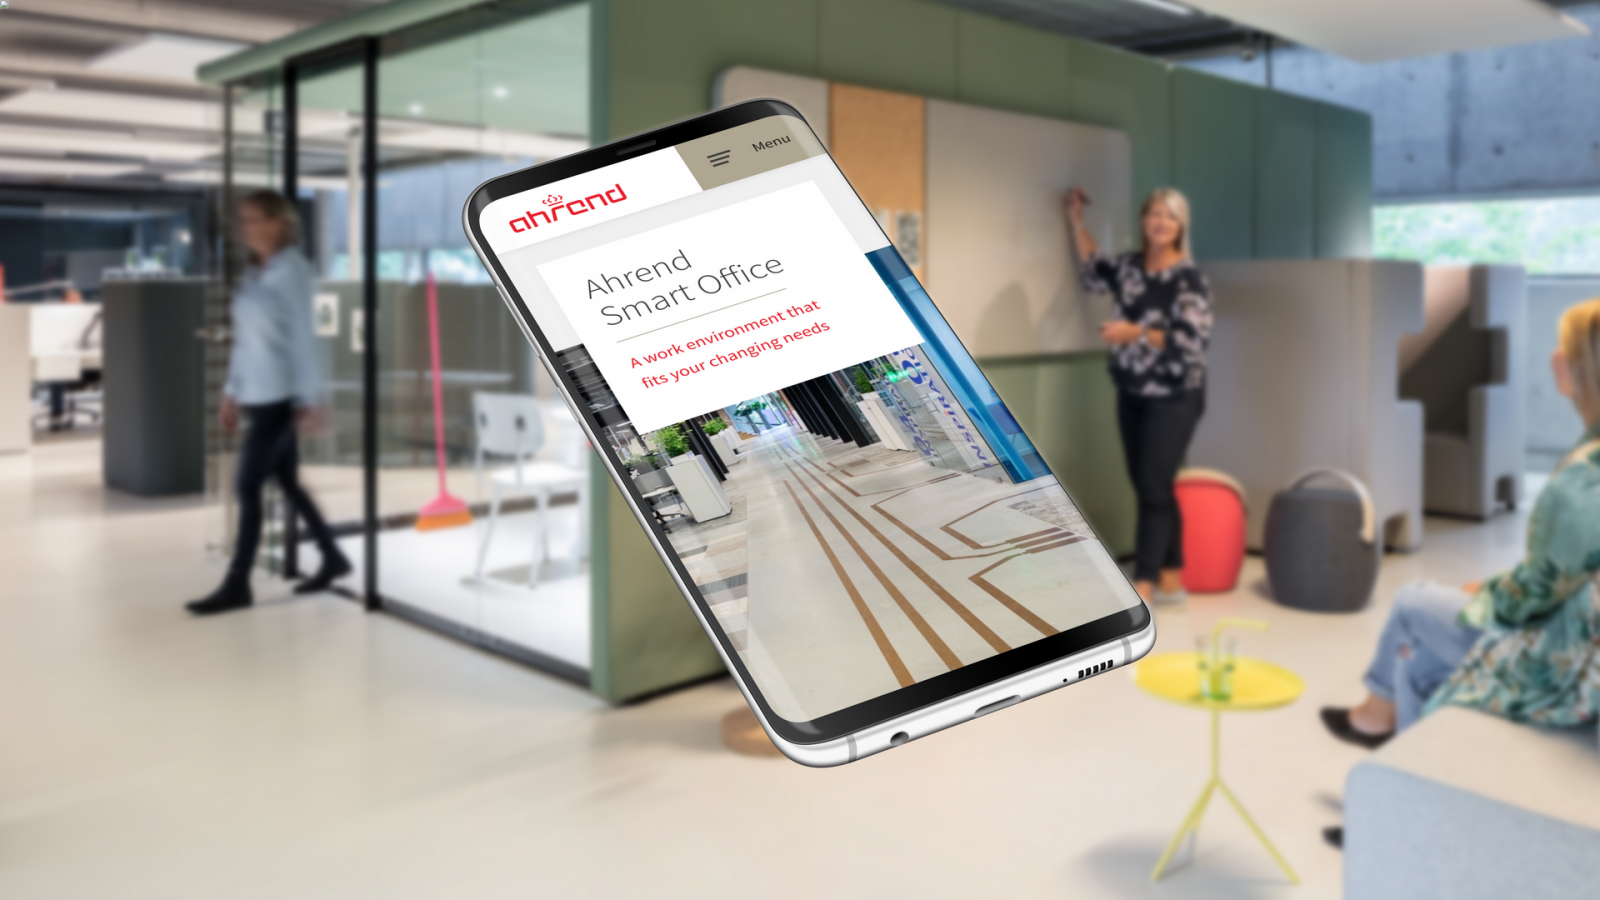
In the Template tab of the Adjust panel, we can simply turn this off and the mock-up is done!
Context + branding
Do you want to take the mockup to another level? Check the two additional steps to add more of your brand identity to the final render.
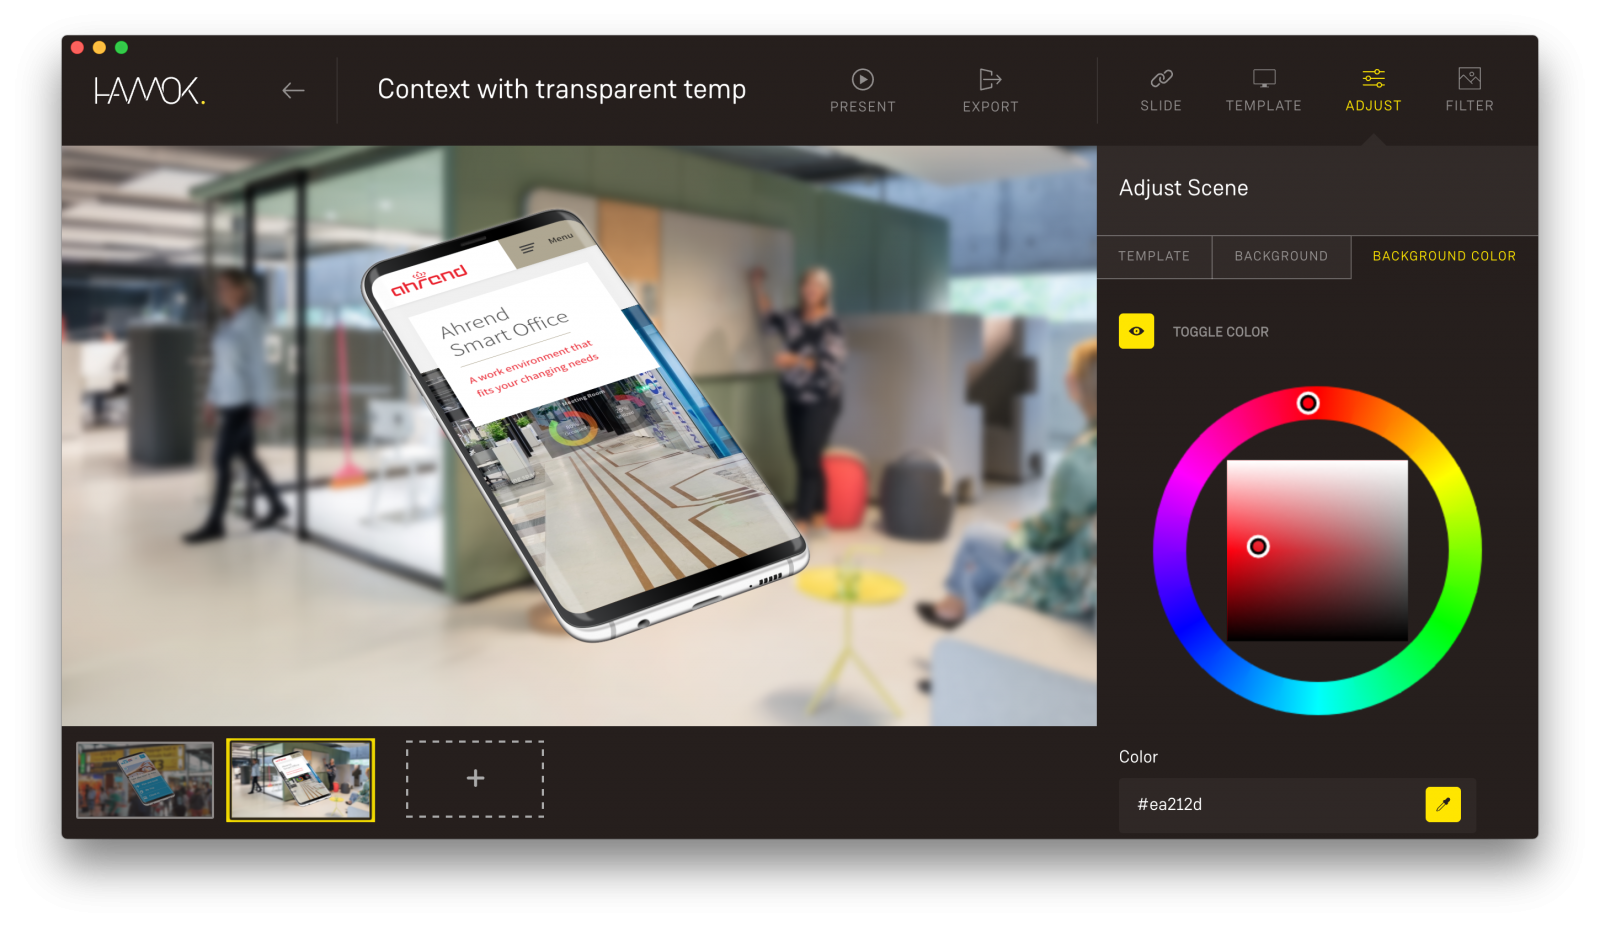
Add background color
Go to the Background color tab and use the color picker to select one of the brand colors in the web design.
You won’t see any change yet, because the background image is over the background color.
Multiply background image
Get back to the Background tab and scroll down to the Blend modes. We love the effect of Multiply and this blend mode will ofter give you a really nice result.
However, don’t be afraid to play around with the blend modes!