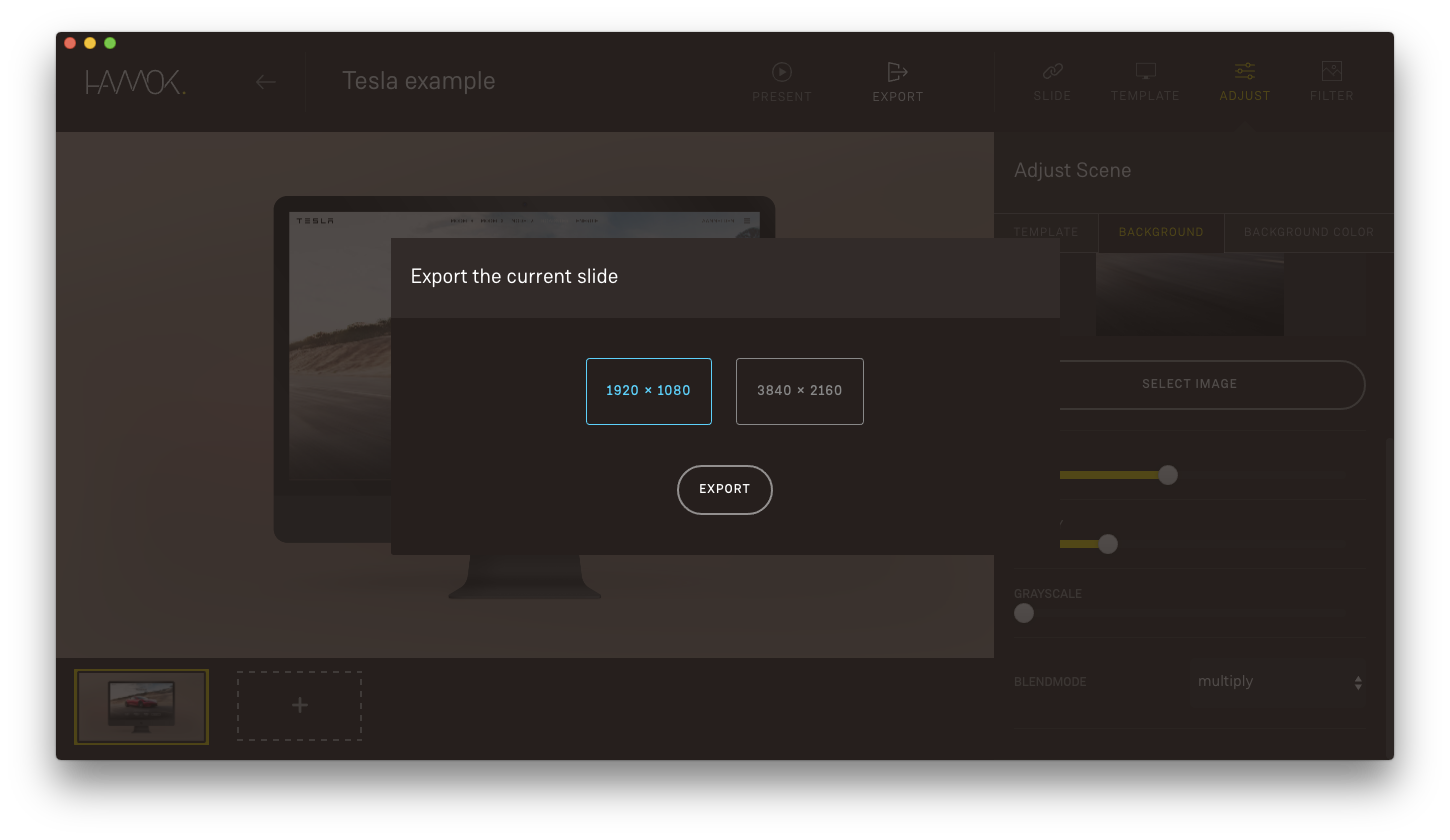
To get you started with Hamok, here is a simple step-by-step guide in how we created the mock-up that you’ve seen in the header on our homepage.
Start a project
The first step is simple: Add a project and open the new unnamed project.
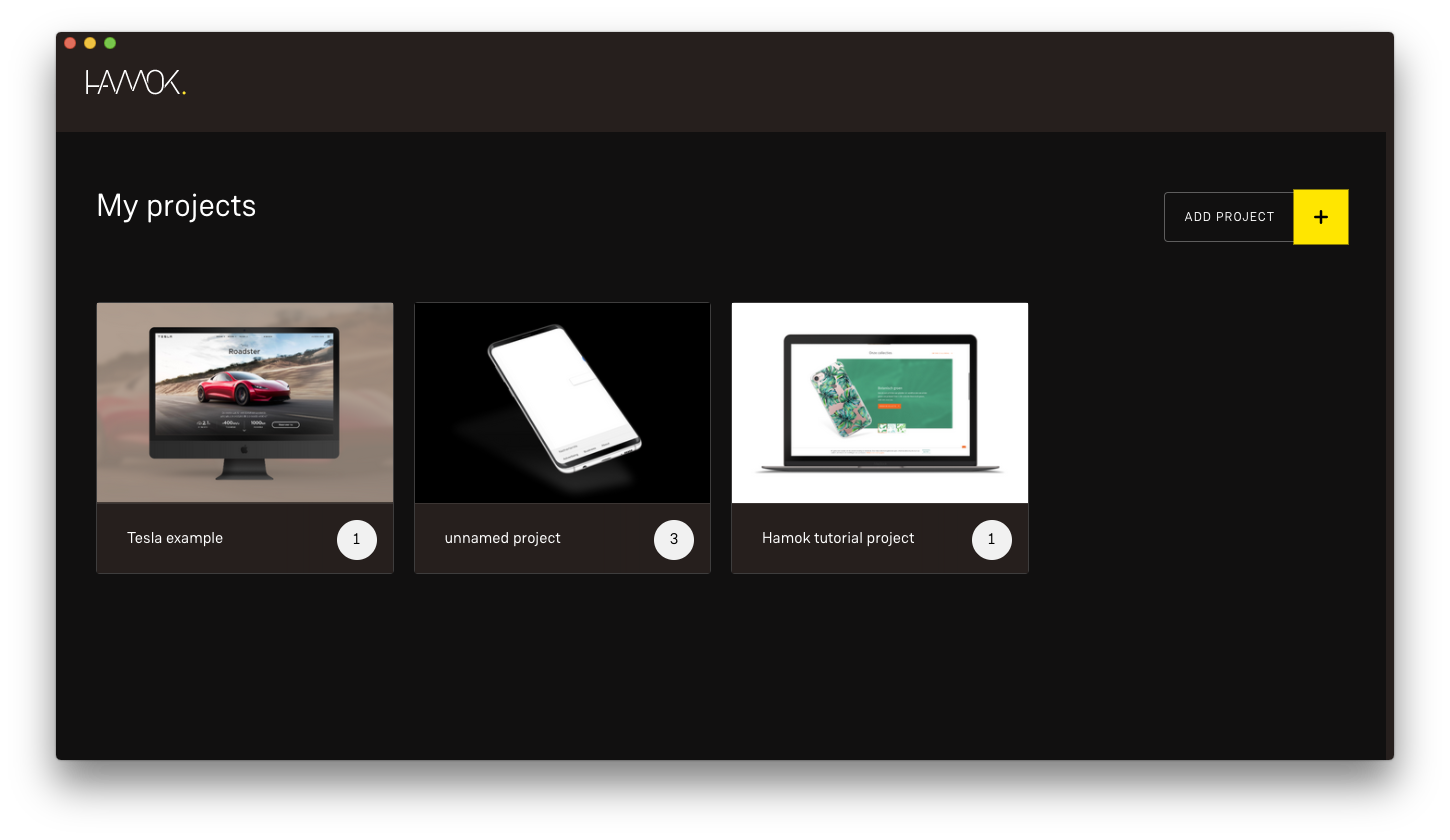
Enter the URL
Simply copy and paste the desired URL from your browser in the URL bar, or navigate to the URL by clicking through the website.
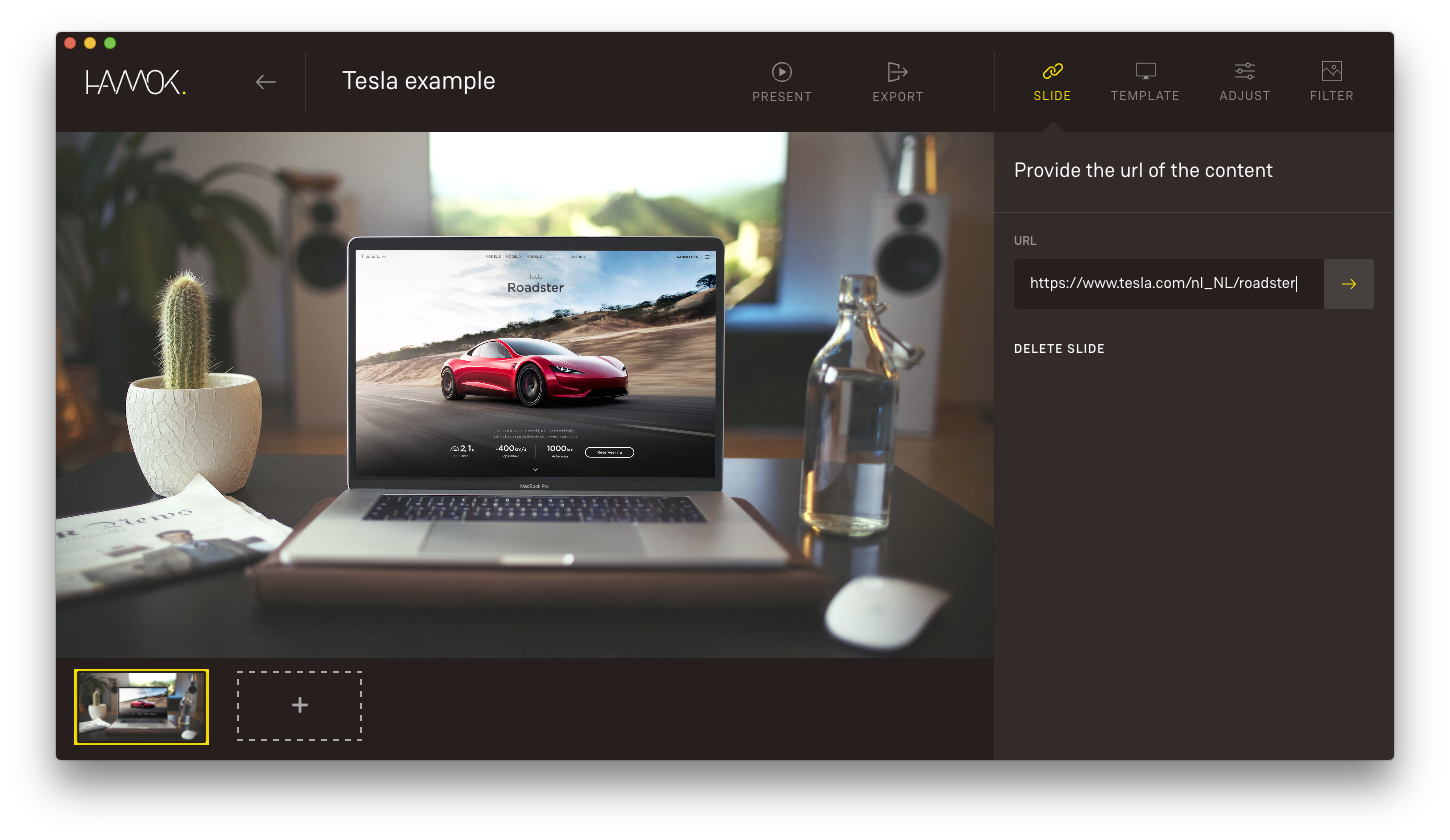
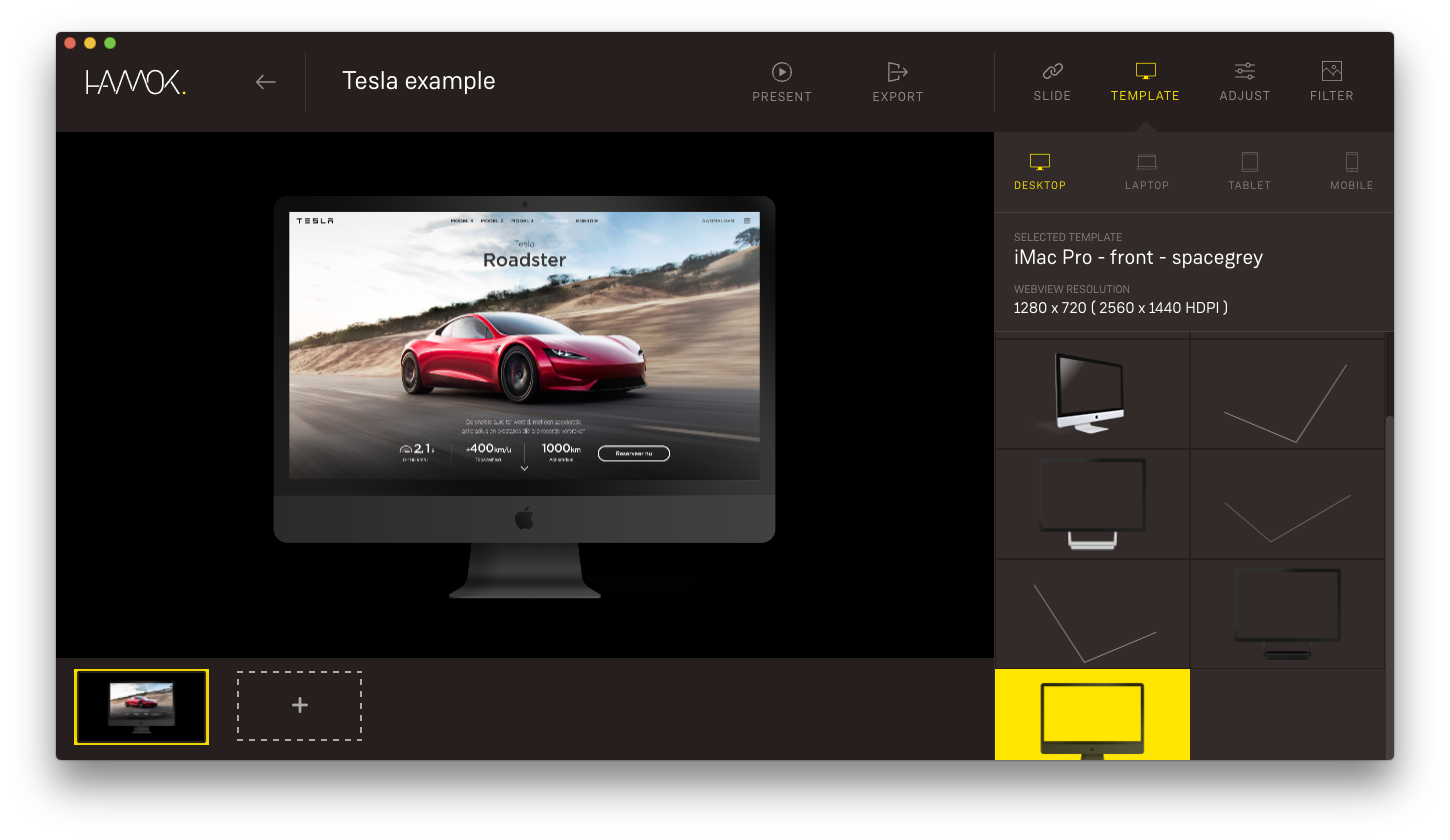
Pick your template
Browse the template panel for a template that you like. In my case, I want to show the website on a MacBook.
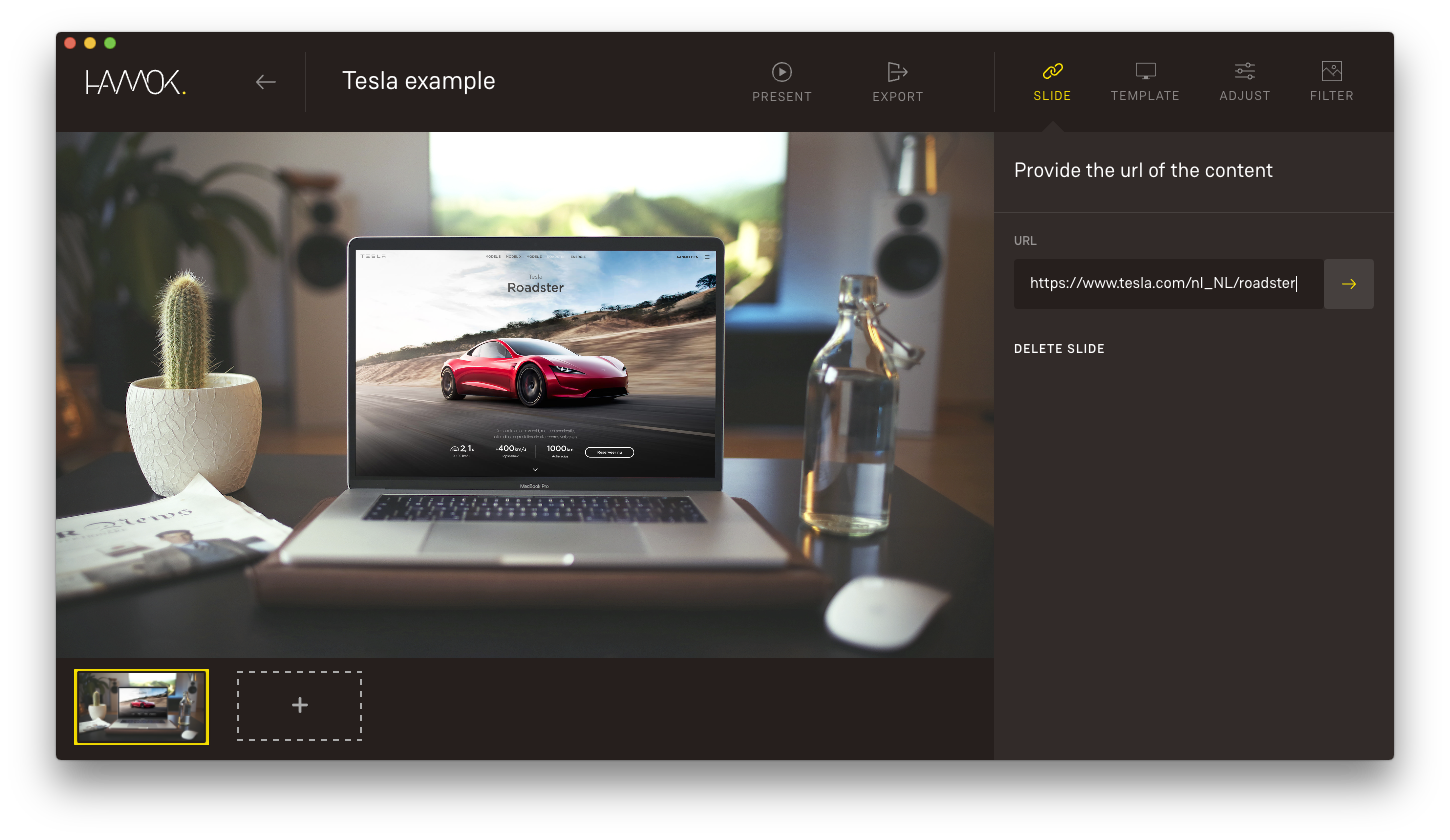
Add the background color
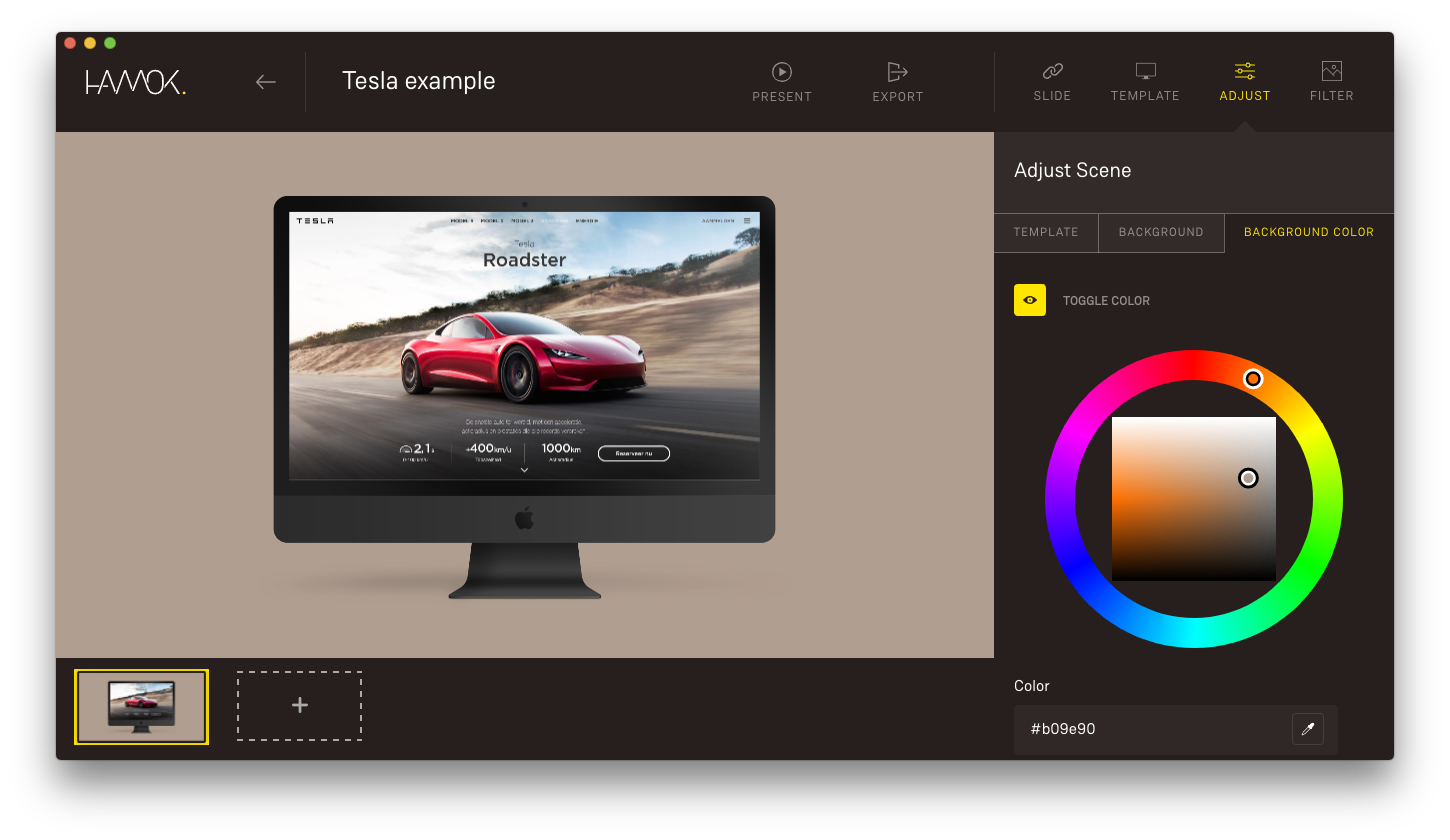
To add the background color, simply navigate to the background color tab in the Adjust panel.
Select the color picker and pick any color in the mockup by clicking on it. By selecting a warm color from the design, the mockup blends nicely with the background.
Add the background image
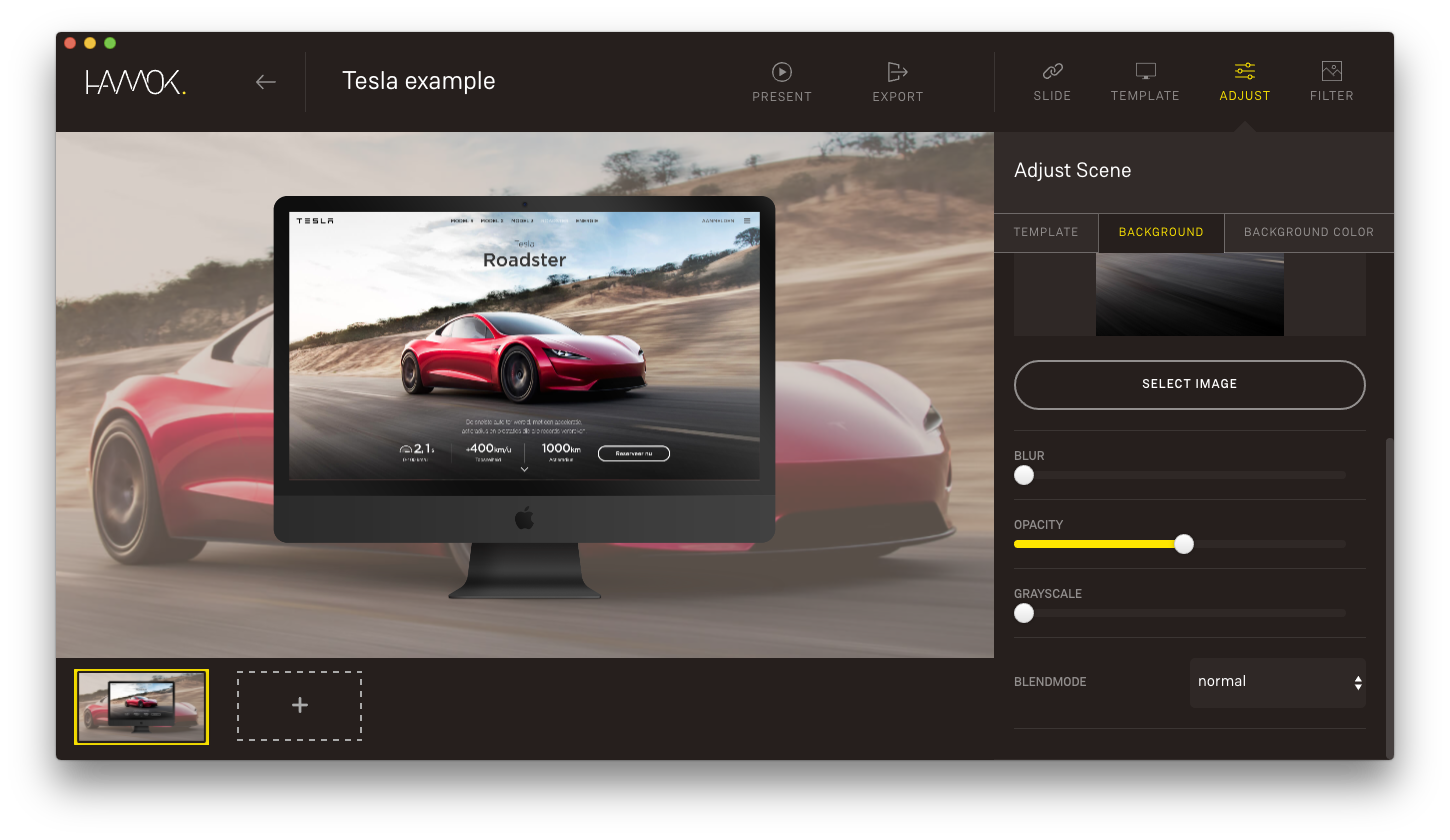
In the Background tab, we can also add an image as a background. Select any image on your desktop and it will fill the background automatically.
Blend the background image and color
Below the image you can add some effects to the image to blend it with the background color.
First, I blurred the image and lowered its opacity a little, to make it more abstract. Secondly, I used the Multiply Blend mode (our favourite) to blend the background color with the image.
Export
Click Export in the top bar and select your desired resolution and presto!
